7 Kitchen Backsplash Mistakes to Avoid
A backsplash can look beautiful in the tile shop and still feel wrong once it reaches the kitchen. Color, pattern, installation, and finishing details all affect the result.
Drawing on more than a decade of kitchen renovations and her own installation mistakes, Carrie of Penny Modern shares seven pitfalls to avoid and the planning to prevent them.
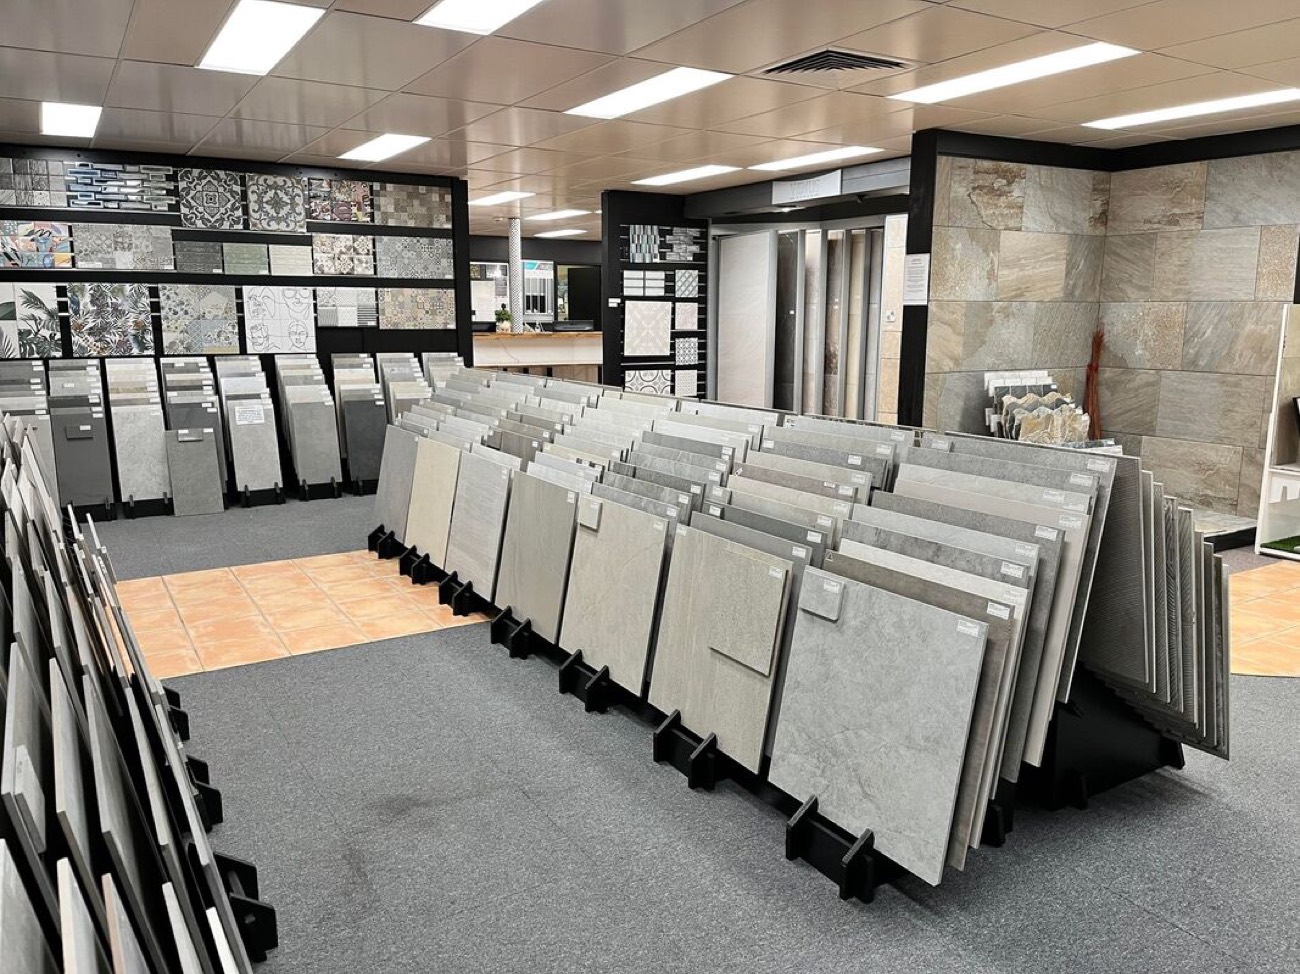
1. Choosing Tile From a Tiny Store Sample
Store lighting can make tile look different than it does at home.
A small sample also may not reveal the variation found in natural stone, marble, and some ceramic tiles.
Carrie recommends ordering at least a full sheet, or even a box, before committing.
Position the samples as they will sit on the backsplash and check them in the kitchen’s lighting alongside the cabinets and countertops.
Before installation begins, open every box and review the variations.
Discuss the arrangement with the installer so different tones and patterns are distributed thoughtfully.
2. Letting the Backsplash Compete With the Countertop
Dramatic veining, busy granite, and patterned mosaic tile can compete for attention when used together.
Carrie approaches kitchen materials as a leading character and a supporting cast.
If the countertop is the focal point, a subtle or solid-colored backsplash can support it.
Small tiles with contrasting grout add another layer of pattern, which can create visual noise beside an already busy countertop.
Undertones matter, too. Compare a substantial tile sample with the countertop to check that the materials work together within the same color family.
3. Picking a Pattern Before Planning the Installation
Carrie chose a heavy marble herringbone backsplash before deciding who would install it.
What initially seemed like a possible DIY project required a professional, with extensive cuts around edges and outlets stretching the work over more than a week.
By comparison, she and her husband installed and grouted a simple stacked ceramic backsplash in a day.
Tip
Before buying, decide who will install the tile and which tools are available. For easier DIY installation, use smaller ceramic or porcelain tiles in a simple layout. Tile snips work on some tiles; rent a wet saw if needed.
4. Leaving Slab Placement Entirely to the Fabricator
Extending countertop material up the wall creates a continuous look without grout lines.
However, choosing a slab backsplash also means deciding where its veining and most attractive sections will appear.
Carrie recommends selecting the actual slab in person and having it tagged and held.
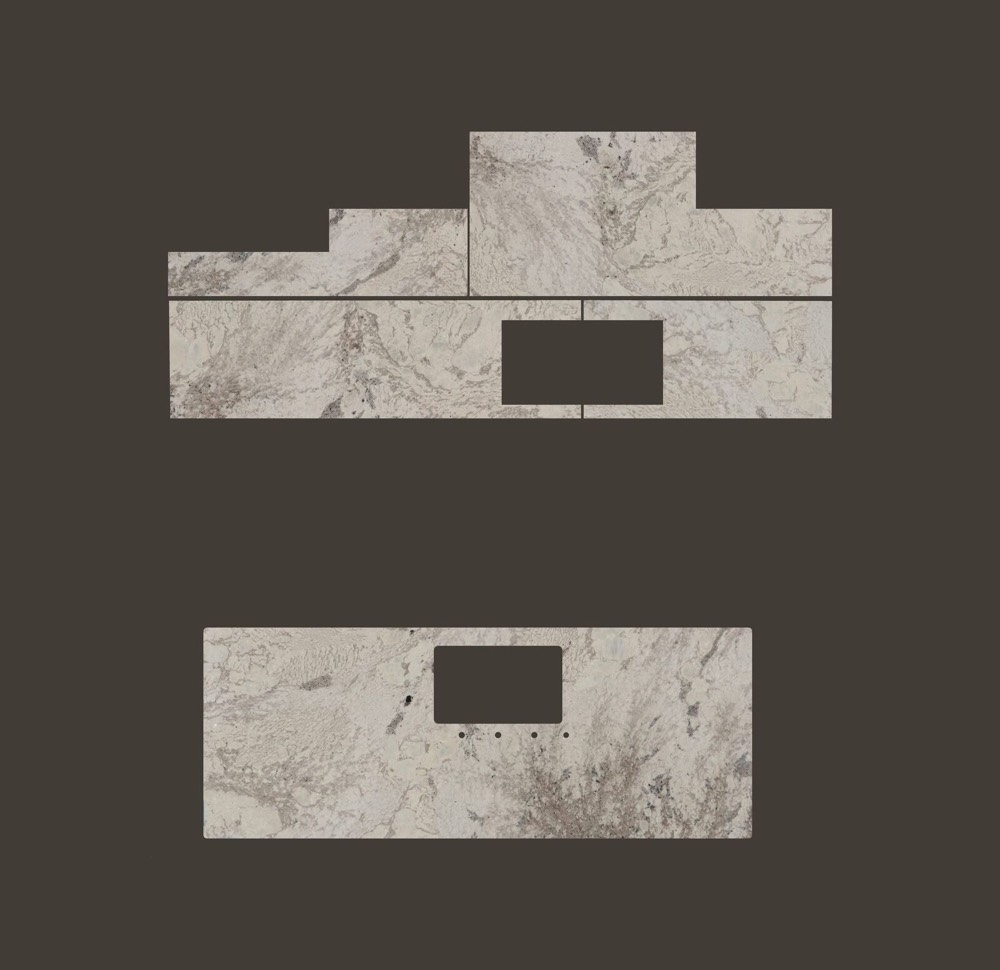
Then request a digital layout using a photograph of that slab to show the planned cuts and placement.
Approve the layout before cutting begins. This helps preserve beautiful veining for visible areas rather than losing it to a sink cutout.
Anyone considering bookmatching—a mirrored arrangement—should also account for the added cost of two neighboring slabs.
5. Treating Grout as an Afterthought
Grout affects how the entire backsplash reads.
A close color match creates a more continuous surface, while contrasting grout outlines each tile and emphasizes its shape and layout.
Carrie recommends selecting grout alongside the tile instead of waiting until installation day.
For a preview, create a sample board with the chosen tile and grout, then let it dry before ordering the full quantity.
6. Forgetting Where and How the Tile Ends
A backsplash can look unfinished if exposed edges are left raw. Carrie learned this after installing tile behind a range without planning finishing pieces.
Options include matching decorative edge pieces, metal trim, or mitered corners for a more seamless look. Purchase the necessary pieces before installation.
The stopping point needs equal attention. Decide whether the backsplash will reach shelves, the hood, or the ceiling, and how it will end beyond upper cabinets.
Carrie suggests discussing these boundaries with the installer and taping them out so the intended placement is clear.
7. Installing Before Preparing for Shelves and Fixtures
Carrie’s own backsplash created complications because the shelving installation had not been fully planned.
The bracket openings were too small, and the added tile thickness affected the screw lengths.
Outlets may also need longer screws or risers, while a hood must allow enough space behind it if tile will continue upward.
The Takeaway
Plan shelf brackets, outlet adjustments, and hood placement before installing the backsplash. Accounting for these details early helps prevent functionality problems afterward.
Final Thoughts
Carrie’s advice centers on making decisions before installation starts.
Testing how materials coordinate at home and planning grout, edges, slab placement, and fixtures can help create a kitchen that looks finished and functions as intended.
Have a question about this story? Write to us — we answer every message.
 8 Japanese Home Features Worth Borrowing for Your Own Space
 How to Make Over an Ensuite Bathroom on a Budget
 The Case for Charcoal Blue Kitchen Cabinets in 2026